Hand Lettering Supplies: A Simple Starter Kit for Beginners
The five tools you need to begin lettering, what each one is for, which extras become useful later and which popular purchases you can skip entirely.
It is easy to believe that lettering starts with a shopping trip. It does not. The list of hand lettering supplies you need on day one is short, inexpensive and probably half in your desk drawer already.
This guide sorts tools into three groups: the minimum kit, things that become useful later and things you can skip. Everything is described by type, so you can use whatever version you find locally.
The minimum kit: five things
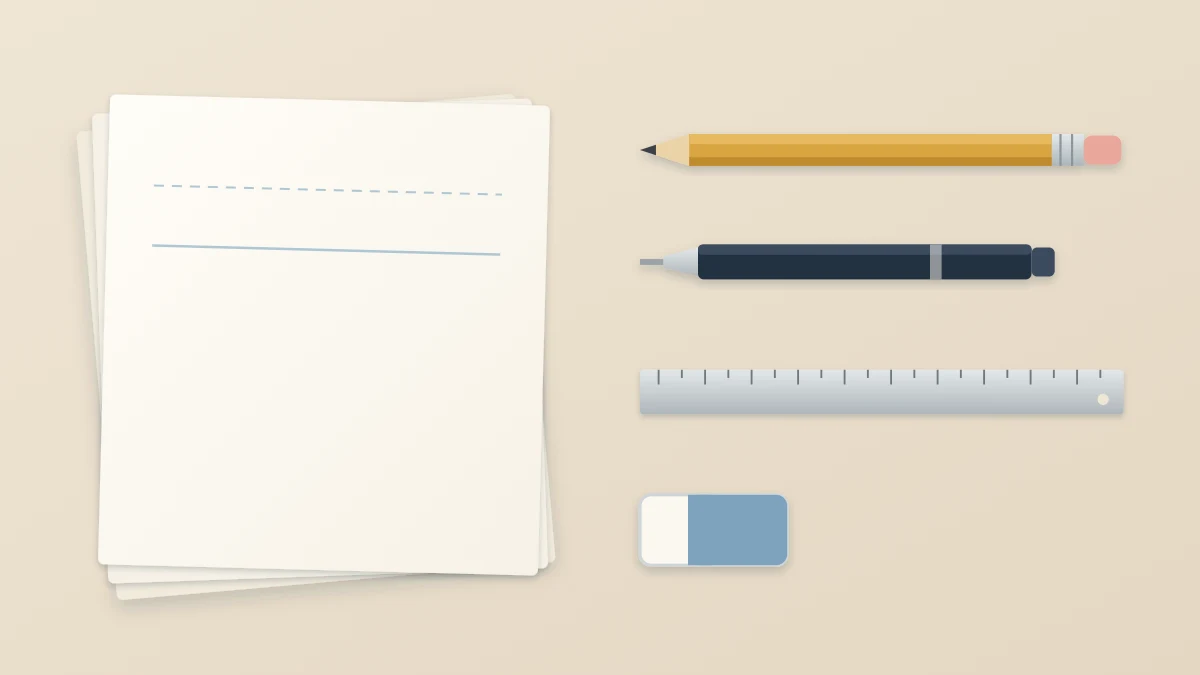
Lettering is drawing letters, and drawing starts in pencil. Four of the five essentials exist to help you sketch, measure and correct. Only one is for ink.
- An HB or 2B pencil
- A soft eraser
- A ruler
- One fineliner
- Smooth paper
What each essential is for
Pencil
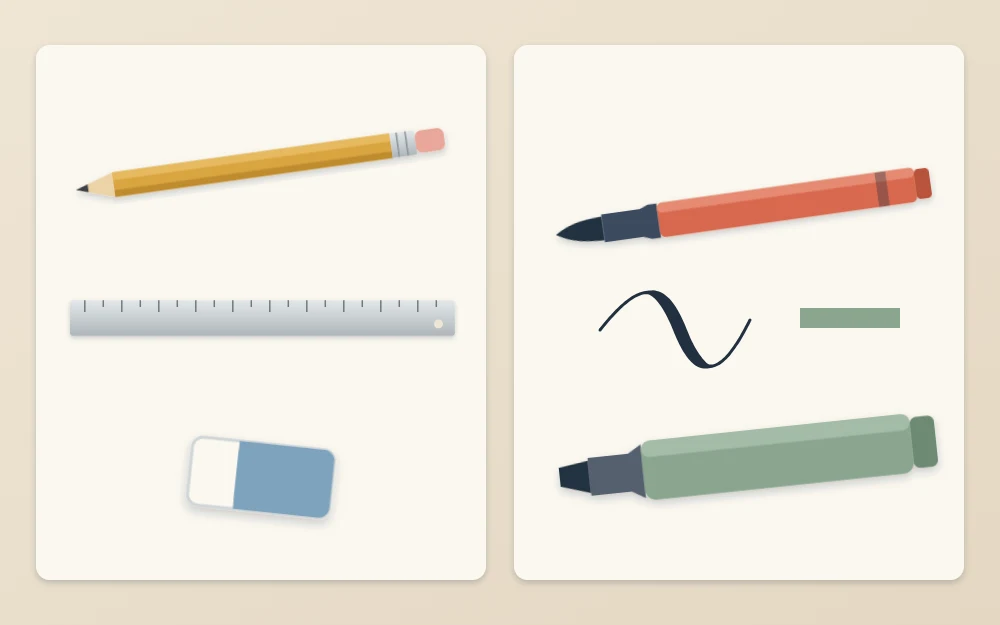
An HB pencil makes a light, firm line that is good for guide lines. A 2B is softer and darker, pleasant for sketching letters and easy to erase when used lightly. Either one is enough. A mechanical pencil is fine too and never needs sharpening.
Soft eraser
You will erase guide lines from under finished ink, so the eraser needs to lift graphite without roughing up the paper or dulling the ink. A soft white plastic or vinyl eraser does this well. Avoid the hard pink kind on the end of a pencil, which tends to smear and scuff.
Ruler
The ruler draws baselines, x-height lines and margins, and it measures spacing so that every row matches. A clear plastic ruler of 12 in (30 cm) lets you see the lines beneath it. A metal one stays straighter over time. Any straight ruler works.
One fineliner
A fineliner makes a thin, dark, even line. With a single medium tip, about 0.4 to 0.5 mm, you can ink monoline letters, draw the outlines of block letters and build faux calligraphy by drawing the thick strokes and filling them in. Other tip widths and pen types are compared in the guide to pen types and when to use each.
Smooth paper
A stack of smooth printer paper is enough for months of practice. Smoothness is the quality that matters, because it keeps lines crisp and pen tips intact. For the reasons, and for the papers to avoid, see paper types for lettering practice.
Tip
Before buying anything, gather what you already own and test it. Draw ten parallel lines with the ruler and pencil, ink a word over them with whatever pen you have, let it dry and erase. If the ink stays dark and the paper stays smooth, that set is good enough to begin.
Useful later
None of these are needed in the first weeks. Each one solves a specific problem, so add it when you meet that problem.
| Tool | What it adds | Add it when |
|---|---|---|
| Small firm-tip brush pen | Thick and thin strokes in one movement | Your letter shapes are steady and you want to try brush script |
| Broad marker | Bold lines and fast filling | You letter larger words or signs |
| Tracing paper | A clean layer over your own sketch | Your drafts get muddy from erasing |
| Dot grid pad | Built-in references for guide lines | Ruling every sheet starts to slow you down |
| Compass or round objects | Smooth arcs and circles | You try arched or circular layouts |
| White gel pen | Highlights on dark letters | You start adding shine and detail |
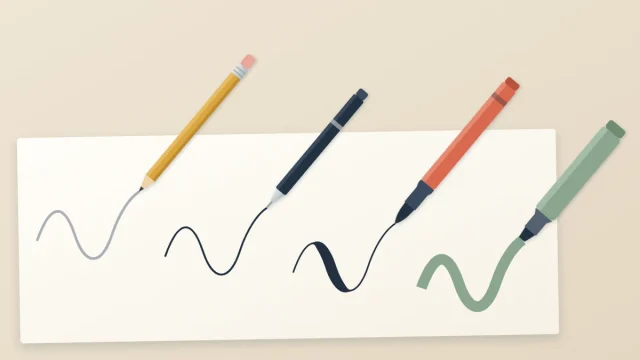
A few notes on these. The small firm-tip brush pen is the sensible first flexible tool, because its short tip is easier to steer than a long soft one. With a brush pen, pressure controls the width: a light touch gives a thin line and a firm one gives a thick line, which takes patient practice.
For arcs, a compass is precise, but a plate, a cup and a roll of tape cover most curves you will need. A white gel pen is the one “special effect” tool worth having, since a small highlight on the upper left of each thick stroke makes plain letters look glossy.
What can wait
Some supplies are worthwhile, just not yet.
- Large soft-tip brush pens and water brushes. Expressive, but hard to control until the basic strokes are familiar.
- Sets of colored pens. Color is enjoyable and teaches little about letter shapes. One dark pen shows your progress more clearly.
- Chisel-tip markers. Good for bold capitals once you can hold a steady pen angle.
- Smooth cardstock. Worth buying when you have a finished design to put on it.
- Several fineliner widths. A finer and a broader tip are handy for details and fills, after the medium one feels natural.
What you do not need at all
- A large pen collection. More tools mean more decisions, not better letters.
- A light box. A sheet of tracing paper, or a bright window, does the same job.
- A drawing tablet or software. Digital lettering is a separate path. Paper teaches the same shapes with less setup.
- Special lettering rulers or stencils. A plain ruler and your own guide lines teach you more about proportion.
- Expensive paper for practice. Drills fill many pages. Paper you are afraid to waste works against you.
Common mistake
Treating a new tool as the fix for wobbly letters. Uneven lines nearly always come from skipped guide lines or rushed strokes, and a better pen draws the same wobble more clearly.
Keeping the kit ready
A kit you can reach in ten seconds gets used more often than one stored in a closet. Keep the five essentials together in a pencil case, a jar or a zip bag, with a folder of paper beside it.
- Cap pens right away so tips stay moist.
- Store brush pens flat, so ink reaches the tip evenly.
- Keep the eraser clean by rubbing it on scrap paper when it turns gray.
- Keep a few scrap sheets for testing pens.
Left-handed readers get extra use from a scrap sheet: placed under the writing hand, it keeps fresh ink and pencil dust from smearing as the hand moves across the line.
What to do with the kit first
With five tools on the desk, you can rule guide lines, sketch an alphabet, ink it and erase the pencil. That covers the whole basic workflow of lettering. If you are unsure where to begin, the guide to starting hand lettering from zero lays out the first steps in order.
Improvement comes from regular, short sessions more than from equipment, and it comes gradually. Start with the minimum, and let each later purchase answer a question that your practice has actually raised.
Frequently asked questions
What supplies do I need to start hand lettering?
A pencil, a soft eraser, a ruler, one fineliner and some smooth paper. The pencil and ruler handle guide lines and sketches, the fineliner handles ink and the eraser cleans up afterward. That set covers monoline lettering, block letters and faux calligraphy, which is plenty for the first months.
Can I start hand lettering with just a pencil?
Yes. A pencil and paper are enough to learn guide lines, letter shapes and spacing, and many people practice that way for a while. A ruler makes the guide lines accurate, and a fineliner becomes useful once you want a finished, dark version of a sketch.
When should I buy a brush pen?
When your pencil and fineliner letters look fairly even and you want to try brush script. There is no fixed date, and for many beginners that point arrives after several weeks of basics. Choose a small firm-tip brush pen first, since it is easier to control than a large soft one.