How to Make Your Own Lettering Practice Sheets
Rule one master guide sheet by hand, ink it dark and slide it under thin paper, so you get reusable practice pages sized for your own pen and style.
Lesson at a glance
What you need
- HB pencil
- Soft eraser
- Ruler
- Dark fineliner
- Sturdy smooth paper
- Tracing paper or thin printer paper
- Two paper clips
Guide lines make practice far more useful, but ruling a fresh page of them every time you sit down gets old quickly. The usual answer is to go hunting for ready-made worksheets. A simpler one is to rule a single good page yourself and reuse it for months.
This tutorial shows how to make your own lettering practice sheets with a pencil, a ruler and a dark pen. You draw one master guide sheet, then slide it under thin paper so the lines show through. Nothing here needs a printer, and the lines will be exactly the size your pen and your style need.
What you need
- An HB pencil and a soft eraser
- A ruler at least as long as the page is wide
- A fineliner or other dark pen
- One sheet of smooth, fairly sturdy paper for the master
- Thin paper to practice on: light printer paper, marker paper or tracing paper
Decide the measurements first
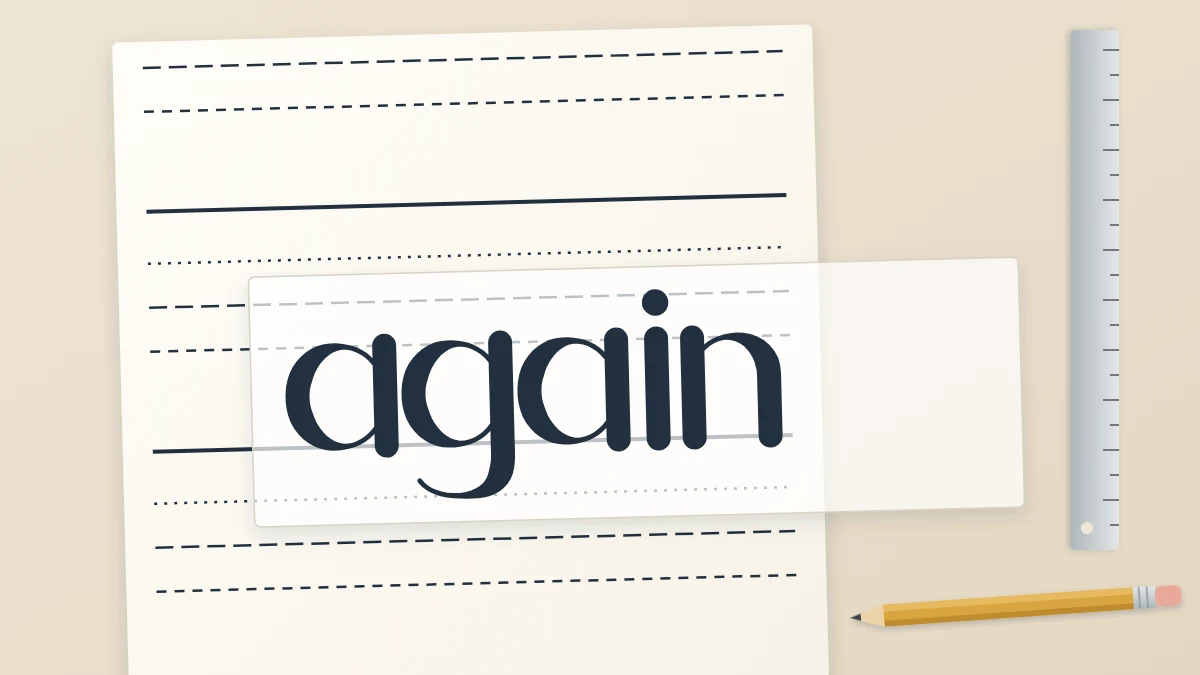
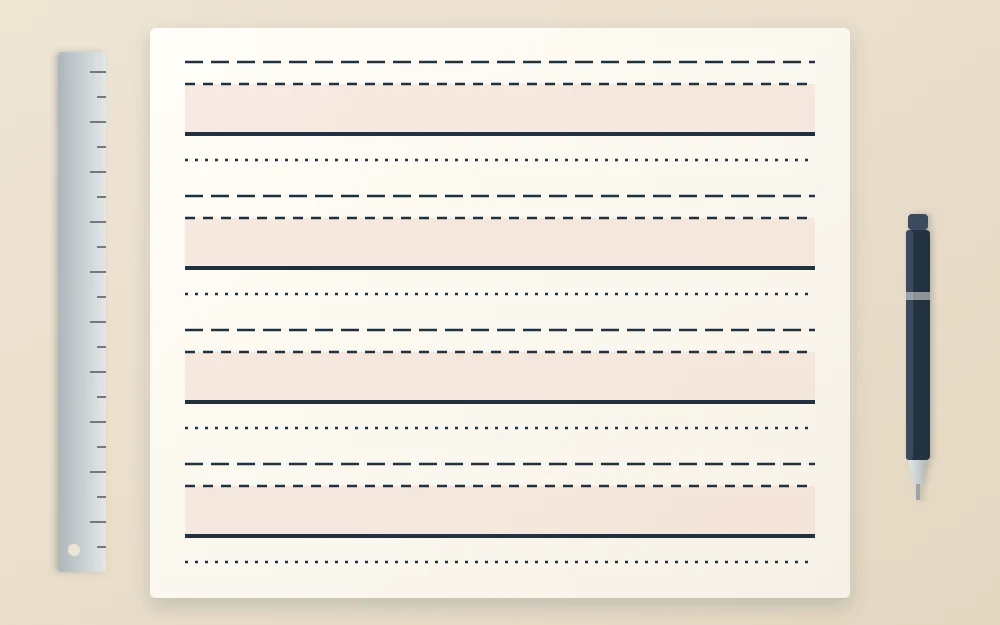
Each set of guide lines has four lines: a top line for capitals and ascenders, the x-height line, the baseline and a descender line. Three measurements define the set, and a fourth separates one set from the next.
| Space | Starting size |
|---|---|
| Top line to x-height line (ascenders and capitals) | 1/4 in (6 mm) |
| X-height line to baseline | 3/8 in (1 cm) |
| Baseline to descender line | 1/4 in |
| Gap before the next set | 3/8 in |
That gives a ratio of 3 to 2 between the x-height and the space above it, a comfortable proportion for most beginner styles. Why those ratios work, and how to choose others, is covered in the guide to ruling baselines and guide lines. Here you only need to pick numbers and stay with them.
One set plus its gap is 1 1/4 in (about 3.2 cm) tall, so a letter-size page with 1/2 in (1.3 cm) margins holds about eight sets.
Rule the master sheet
- Mark the margins. Draw a light pencil line 1/2 in from the left edge and another 1/2 in from the right edge. All your tick marks go on these two lines.
- Tick the left side. Lay the ruler along the left margin line with its zero 1/2 in below the top edge. Make a small tick for each line of the first set: at 0, 1/4 in, 5/8 in and 7/8 in. Start the next set at 1 1/4 in and repeat the pattern down the page.
- Tick the right side. Repeat the same measurements on the right margin line. Check that both sides have the same number of ticks before you go on.
- Join the ticks. Connect each left tick to its partner on the right with a light pencil line. Check: the lines should look parallel to the top edge of the paper. If one tilts, a tick is misplaced; measure it again.
- Ink the lines. Go over the pencil with the dark pen and ruler. Make the baseline the heaviest line by going over it twice, and draw the x-height line as dashes. Seen through a second sheet, the lines must look different to be told apart.
- Let it dry, then erase. Wait until the ink is fully dry before erasing the pencil, or it will smear.
Common mistake
Measuring each line from the one above it. Small errors add up, and the last set ends up crooked. Measure every tick from the same starting point at the top instead.
If you are left-handed, ink the lines from right to left, or work from the bottom of the page upward, so your hand does not rest on wet ink.
Add slant lines if you want them
For slanted or script-like styles, add a set of parallel diagonal lines to the same master, or make a second master that has them. A simple way to set the angle without a protractor: from a point on the bottom margin, go 1 in (2.5 cm) across and 2 in (5 cm) up, and draw a line through the two points. That is a moderate forward slant.
Repeat that line every 1/2 in across the page, drawn thinner than the horizontals so the two sets do not compete.
Use the master under thin paper
Lay a thin sheet over the master, line up the edges, and hold the pair together with two paper clips at the top. The dark lines show through, and you letter on the top sheet. The master stays clean and can be reused.
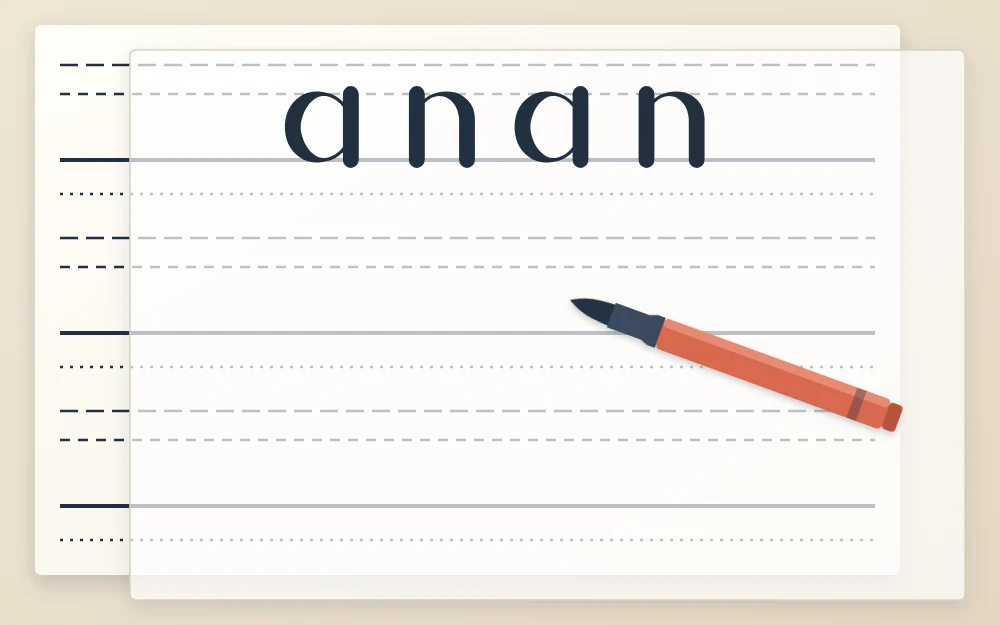
How well the lines show depends on the paper. Tracing paper and marker paper are the clearest; ordinary printer paper works if it is light and the master lines are bold. A bright desk lamp, or a window in daylight, helps. For how different papers behave with ink, see the guide to paper for hand lettering practice.
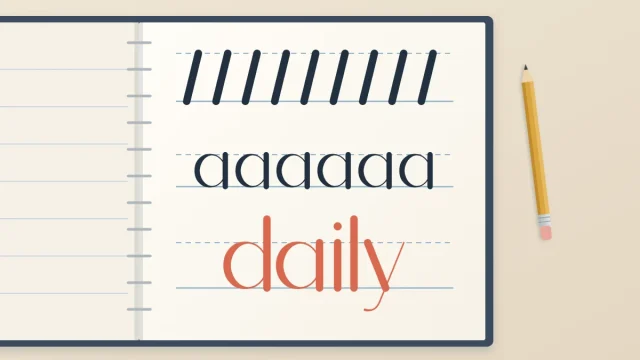
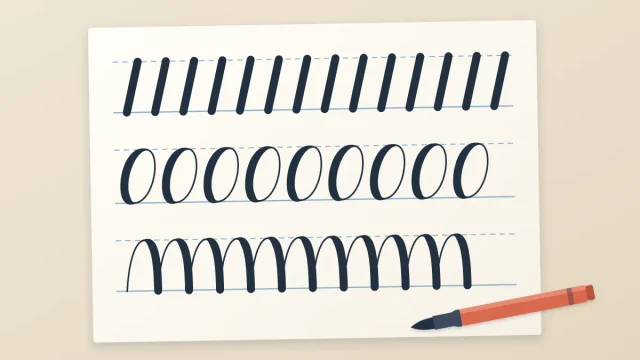
A first page to try: rows of single strokes and connected shapes, taken from these lettering warm-up drills, followed by a row of alternating a and n.
Variations for brush pens and capitals
One master will not suit every tool. Make a small set over time and write the x-height in a corner of each.
- Small firm-tip brush pen. An x-height of 3/8 to 1/2 in works well; keep the spaces above and below at about two thirds of it.
- Large soft-tip brush pen. The strokes are much wider, so the letters must be taller. Try an x-height of 3/4 in (2 cm) and expect only four or five sets on a page.
- Capitals only. Rule pairs of lines, a baseline and a cap height line 3/4 in apart, with a 3/8 in gap between pairs.
Shortcuts: dot grid and graph paper
A dot grid pad or graph paper already has evenly spaced marks, so on days when you do not want a master you can count squares instead of measuring. With a common 1/4 in or 5 mm grid, two squares make the x-height and one or two squares the space above and below. Pencil over the baseline so you can find it.
Check your sheet and keep improving it
Letter one row and look at it honestly. If the letters feel cramped, the x-height is too small for that pen. If ascenders collide with the row above, widen the gap between sets. Rule a revised master; the second usually takes much less time than the first.
Frequently asked questions
What x-height should I use on a practice sheet?
For a pencil, fineliner or small firm-tip brush pen, about 3/8 in (1 cm) is a comfortable starting point: big enough to see errors, small enough to fit several rows. Large soft-tip brush pens need roughly double that. If letters feel cramped or strokes fill in the counters, make the x-height larger.
What if I cannot see the guide lines through my paper?
Make the master lines darker and a little thicker, and switch to a thinner top sheet such as tracing paper or marker paper. Working under a bright lamp or against a window in daylight also helps. If the paper is still too opaque, rule light pencil lines directly on it.
Is dot grid paper good enough instead of a master sheet?
Yes, for everyday practice it works well, because you can count dots instead of measuring. The drawback is that the grid fixes your proportions and offers no slant lines. A hand-ruled master is worth the extra time when you need a specific x-height, slant or line spacing.